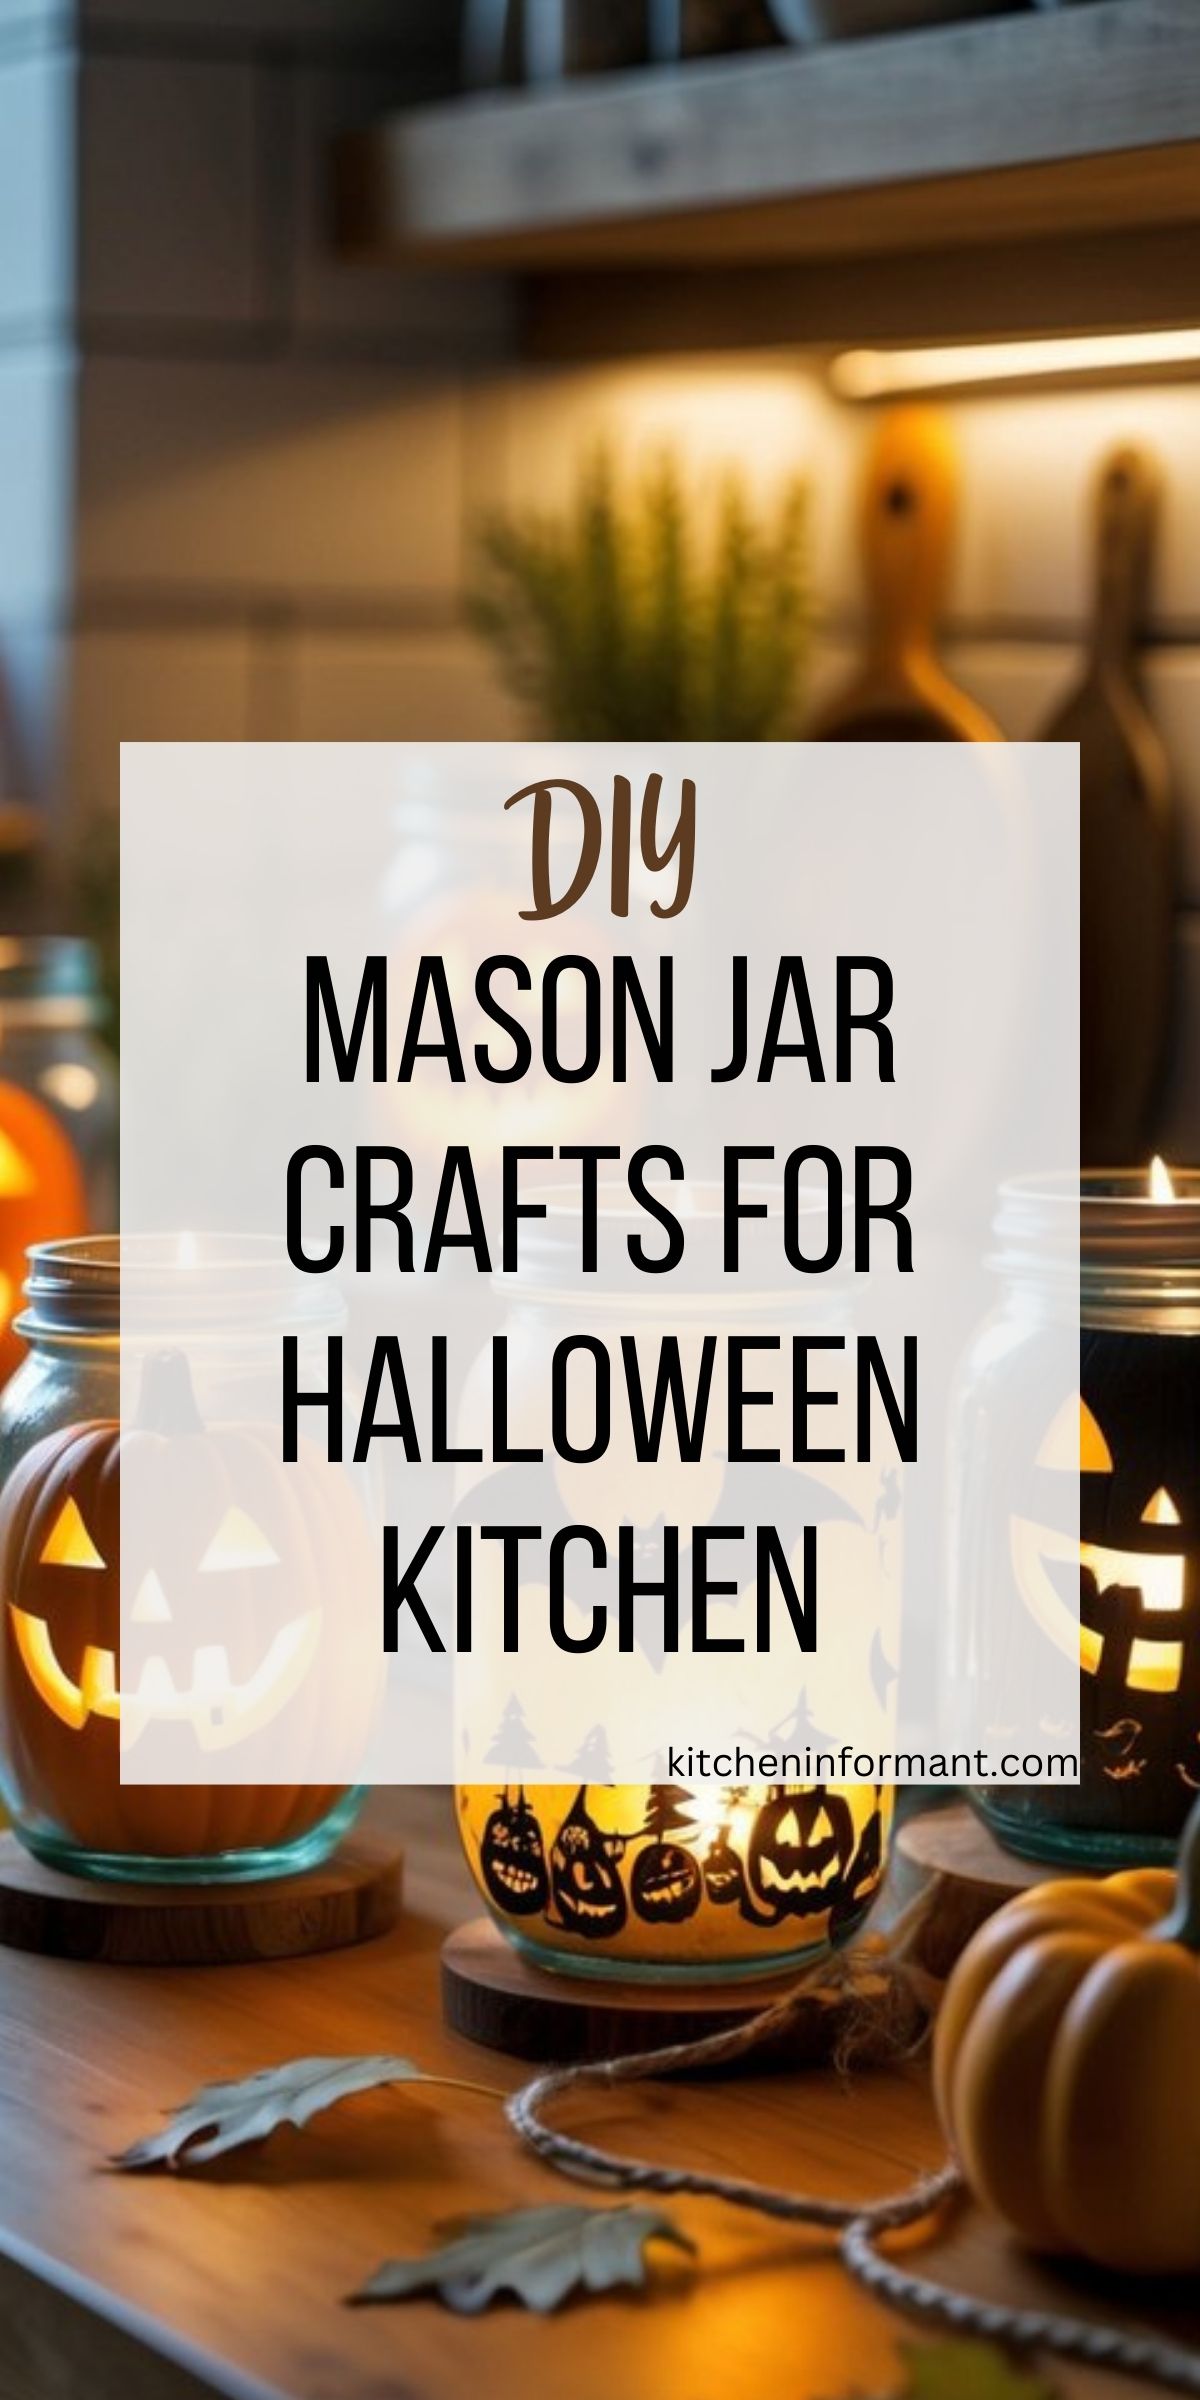
Mason jars are a simple, fun way to add a spooky touch to your Halloween kitchen decor. You can turn these glass jars into candle holders, storage containers, or glowing decorations that fit right in with your Halloween theme.
Using mason jars lets you whip up unique decorations that brighten your kitchen without much effort—or breaking the bank.
Whether you like creepy, cute, or classic Halloween styles, mason jar crafts give you plenty of options to match your taste.
Add a few extras like fake spider webs, black lace, or autumn leaves, and suddenly your kitchen feels festive for the holiday.
These crafts don’t need many materials, so it’s easy to get the whole family involved. It’s honestly kind of surprising how something as simple as a jar can bring so much creative energy to your kitchen this Halloween.
Why Choose Mason Jar Crafts for Halloween Kitchen Decorating
Mason jar crafts just fit in the kitchen—they’re easy to work with and blend into all kinds of styles. You get creative options that save money, and you can reuse the decorations every year if you want.
Affordability and Accessibility
Mason jars are cheap and easy to find at most stores or online. You can buy them in bulk or just reuse jars from your pantry.
That means you’re not stuck buying new Halloween decorations every year. Just a few basic materials—paint, stickers, gauze—and you can turn plain jars into Halloween pieces.
It’s a smart way to stretch your decorating budget. You decide how much you want to spend, and you can go for cute or spooky looks without emptying your wallet.
Versatility of Mason Jars
Mason jars are surprisingly flexible for decorating. Use them as lanterns by adding candles or fairy lights for a warm glow.
You can paint on ghosts, pumpkins, or spiders, or wrap them in gauze for a mummy look. Fill them with candy or treats—they work great for kitchen displays.
Since jars come in different sizes, you can mix and match for variety. It’s easy to switch up the theme, too; just change what’s inside or swap out the decorations on the outside.
Reusable and Eco-Friendly Decor
Decorating with mason jars means you’re reusing materials. After Halloween, just clean them and store them for next year or use them for another holiday.
This cuts down on waste compared to buying disposable decor. You help the environment and keep your kitchen festive at the same time.
You can always recycle or repurpose the jars after lots of use, making them a smart, green choice for kitchen decorating.
Essential Supplies and Preparation Tips
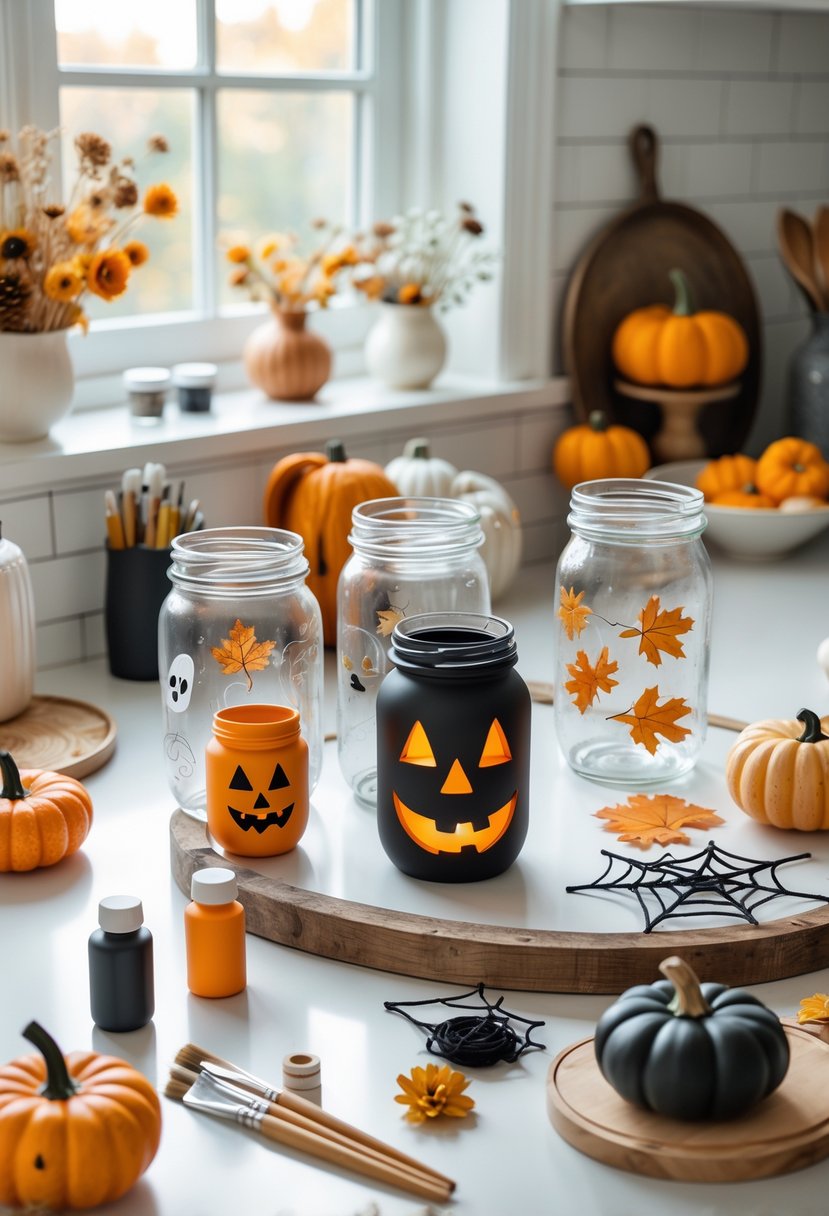
If you want to make fun Halloween mason jars, start by picking the right jars and gathering a few key materials. Prepping your jars first makes decorating easier and helps your designs last.
Selecting the Right Mason Jars
Choosing the right mason jars comes first. Make sure your jars are clean and free of cracks or chips.
Wide-mouth jars are easier to decorate and fill with lights or candy. Pint and half-pint sizes fit nicely on shelves or counters.
Clear glass jars show off your decorations and lights best. You can try frosted or textured glass if you want a softer glow.
Hang onto the lids if you’ll need them for lanterns or candy holders.
Must-Have Craft Materials
You’ll need some basic supplies for Halloween mason jar crafts. Start with paint—acrylic or spray paint in classic Halloween colors like black, orange, purple, and white.
Mod Podge or clear glue helps seal your work and adds shine. Other handy items include:
- Stencils or Halloween stickers
- Brushes and sponges
- Glow-in-the-dark paint
- Battery-operated tealights
- Ribbons, twine, or fake spider webs
These materials help your jars look festive and last all season.
Prepping Jars for Decorating
Before decorating, clean your jars well. Wash with warm, soapy water and dry them completely.
Soak jars to remove labels, then scrub off any glue. If you plan to paint, lightly sand the surface so the paint sticks better.
Use fine-grit sandpaper and wipe away dust. If you’ll put lights inside, make sure the lids have holes or just leave them off to avoid heat buildup.
These steps make decorating easier and keep your jars looking good all October.
Creative Halloween Mason Jar Craft Ideas
You can turn simple mason jars into fun, spooky decorations for your kitchen. Whether you like painting, filling jars with treats, or themed designs, there’s a project out there for you.
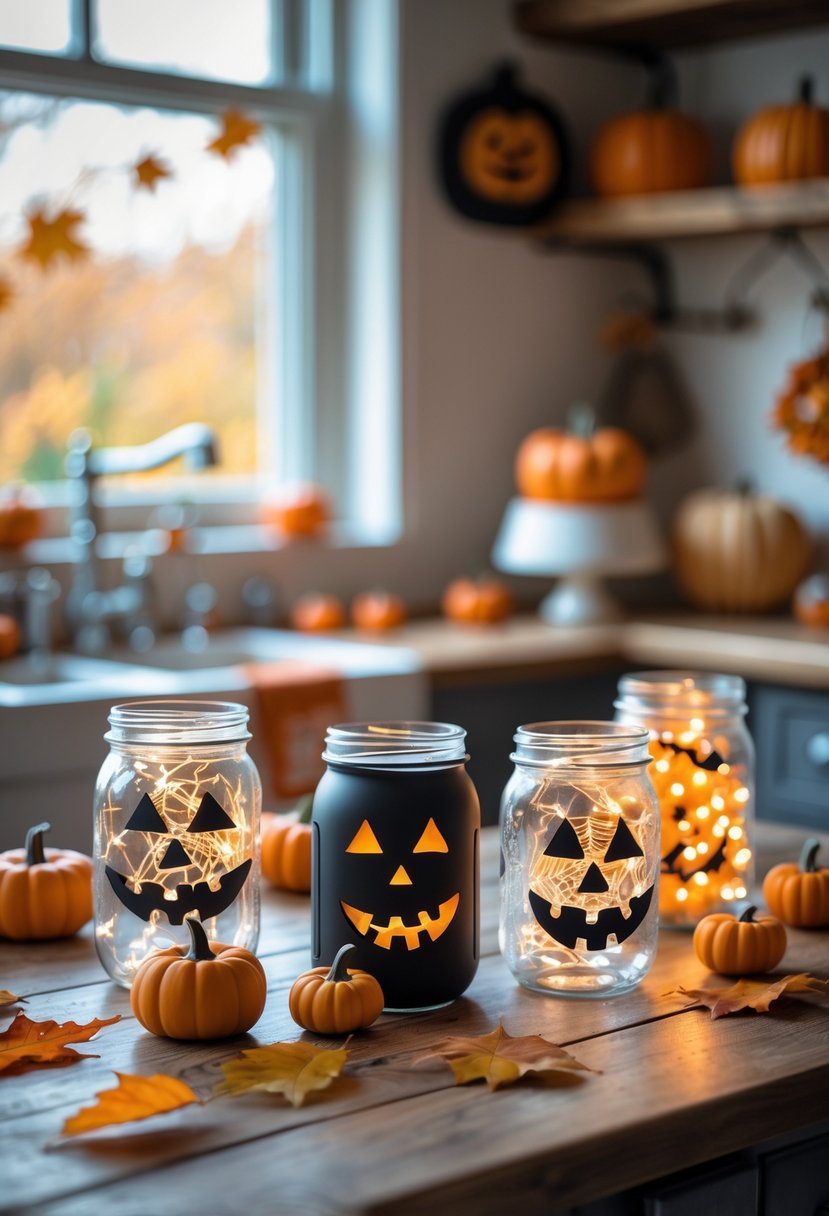
Spooky Painted Mason Jars
Start with plain jars and paint them in Halloween colors like black, orange, and purple. Try spooky designs—ghosts, bats, spiderwebs.
Paint the outside with acrylic paint or use removable markers if you want to switch things up later. Drop in a small LED candle to make the jars glow, minus the fire risk.
Glue on plastic spiders or wrap with black lace for a haunted look. Set these painted jars on your counter or windowsill—they’re a simple but eye-catching part of your Halloween decor.
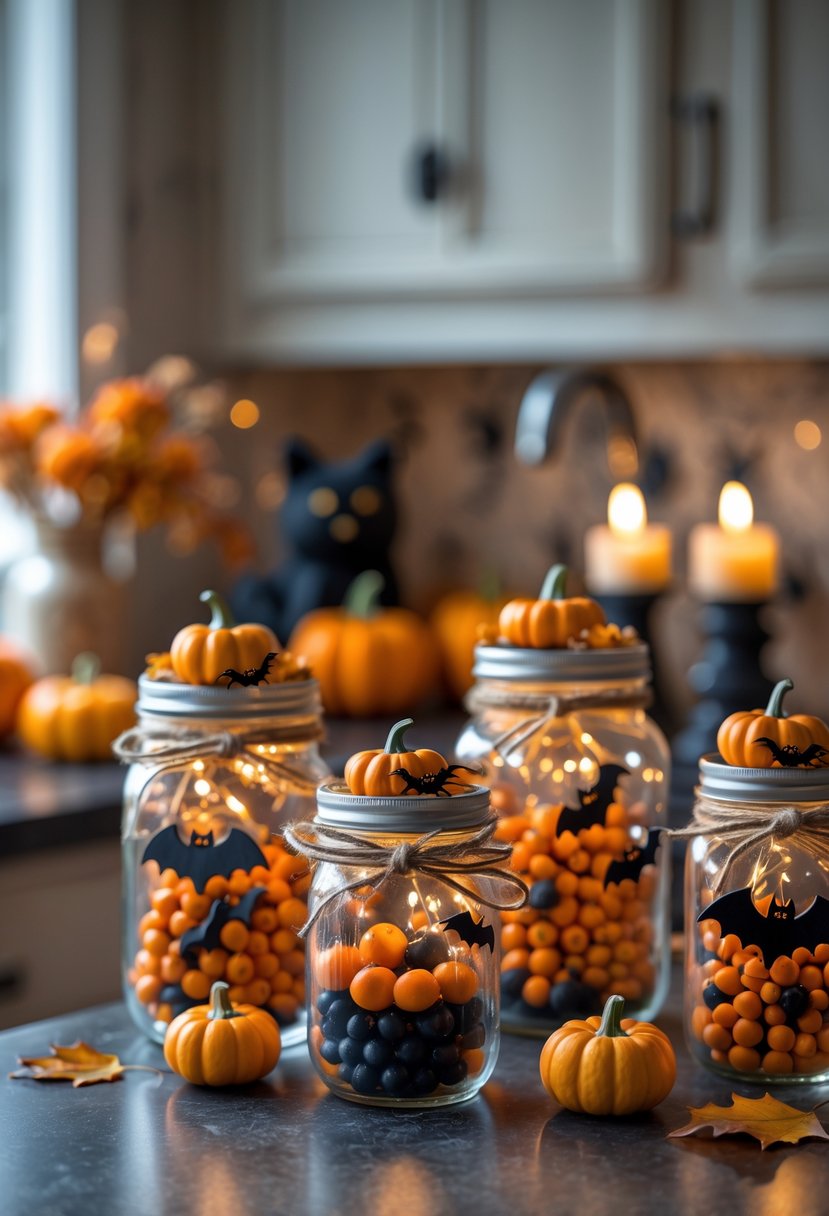
Halloween Treat Jars
Fill jars with Halloween candies or small treats for guests or family. Decorate the outside with labels or stickers—“Trick or Treat,” “Spooky Snacks,” whatever fits your vibe.
Jars with lids keep treats fresh. Add a ribbon or twine around the neck for extra flair.
Set these jars on shelves for easy snacking and a pop of holiday spirit. They’re a fun way to show off your Halloween creativity.
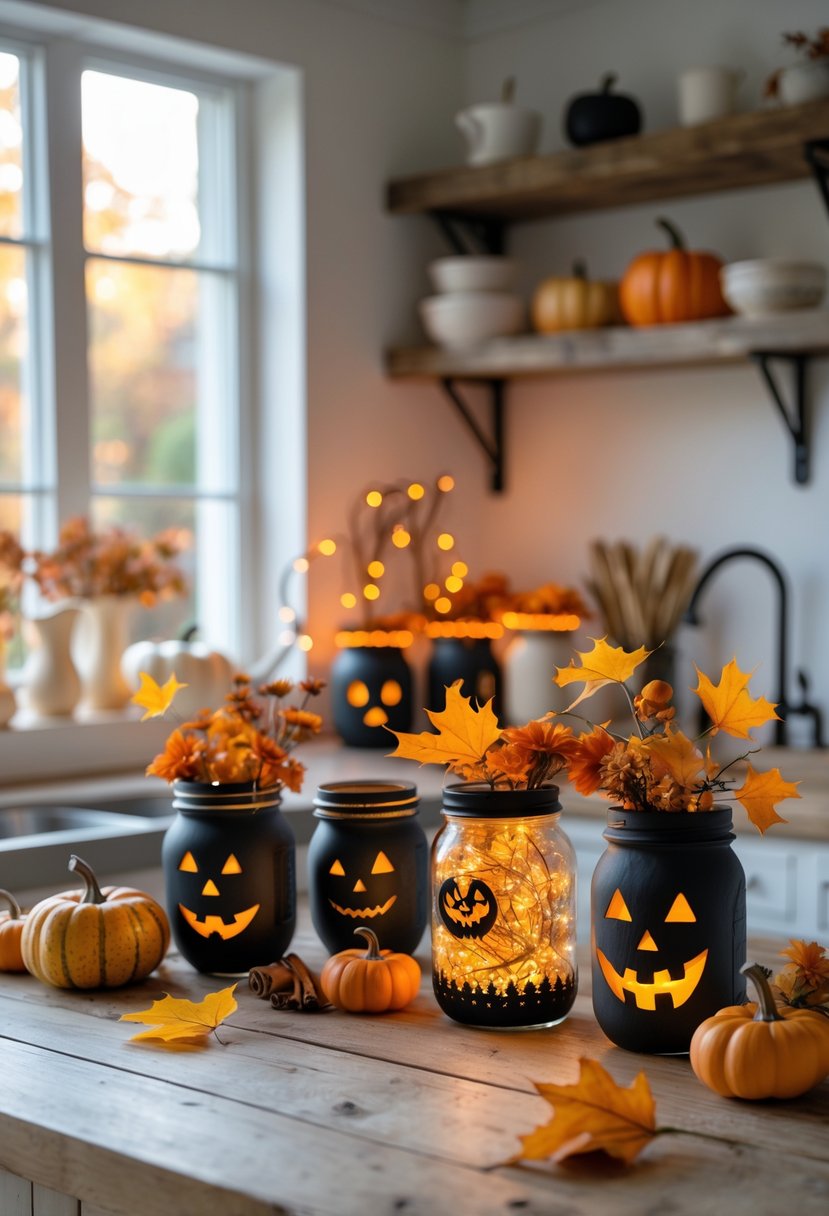
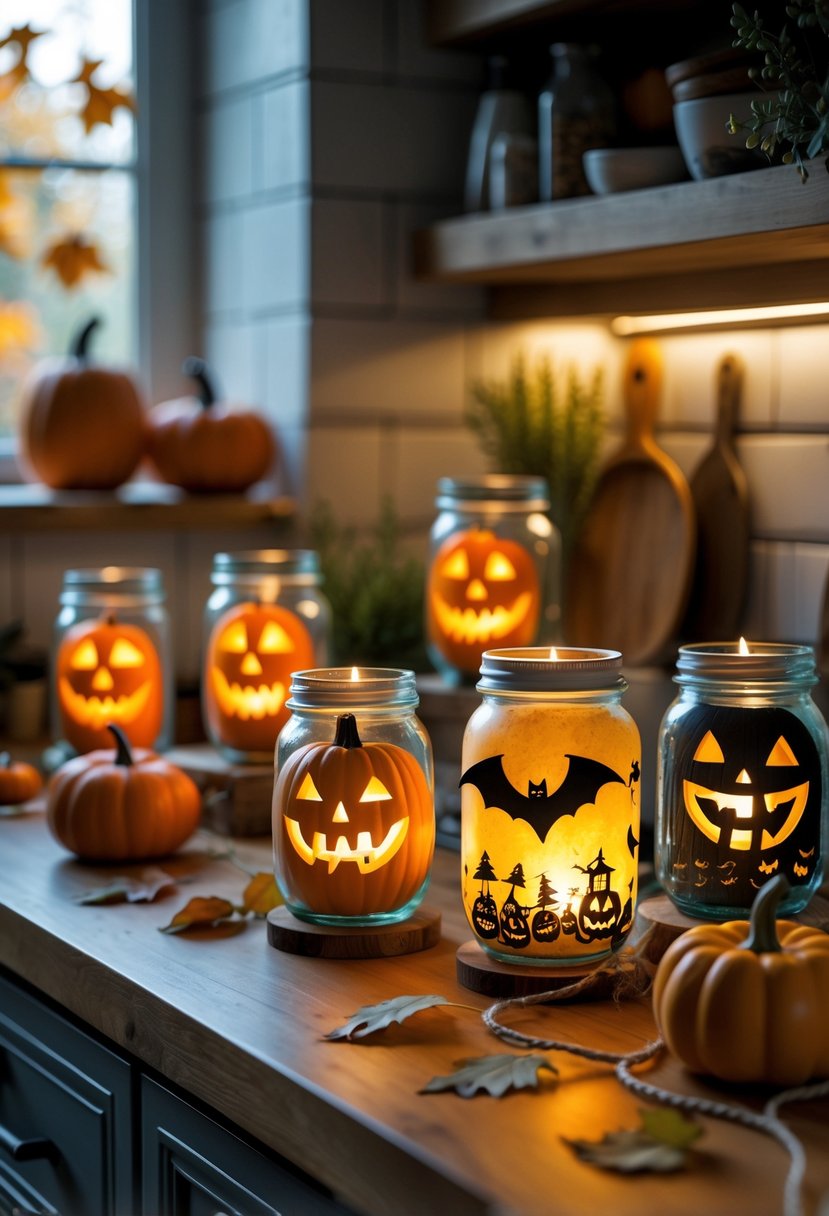
Jack-O-Lantern Mason Jars
Give jars a classic Halloween twist by making mini jack-o-lanterns. Paint them orange and let dry, then draw faces with a black marker or paint.
For a neat finish, cut triangle eyes and a toothy smile from black paper and glue them inside the rim. Pop in a battery-operated tea light for a glowing effect.
Add a green painted lid to look like a pumpkin stem. These jars are light and easy to move—set them on counters or hang them from hooks.
Candy Corn-Themed Jars
Paint three color bands—yellow at the bottom, orange in the middle, white on top—for a candy corn look. Chalk or craft paint works great for bright colors.
Use these jars to hold candy or kitchen utensils, or just leave them empty for decoration. Wrap twine around the neck or add a tag with a Halloween message to finish the look.
These jars add a splash of color and a bit of whimsy to your kitchen this season.
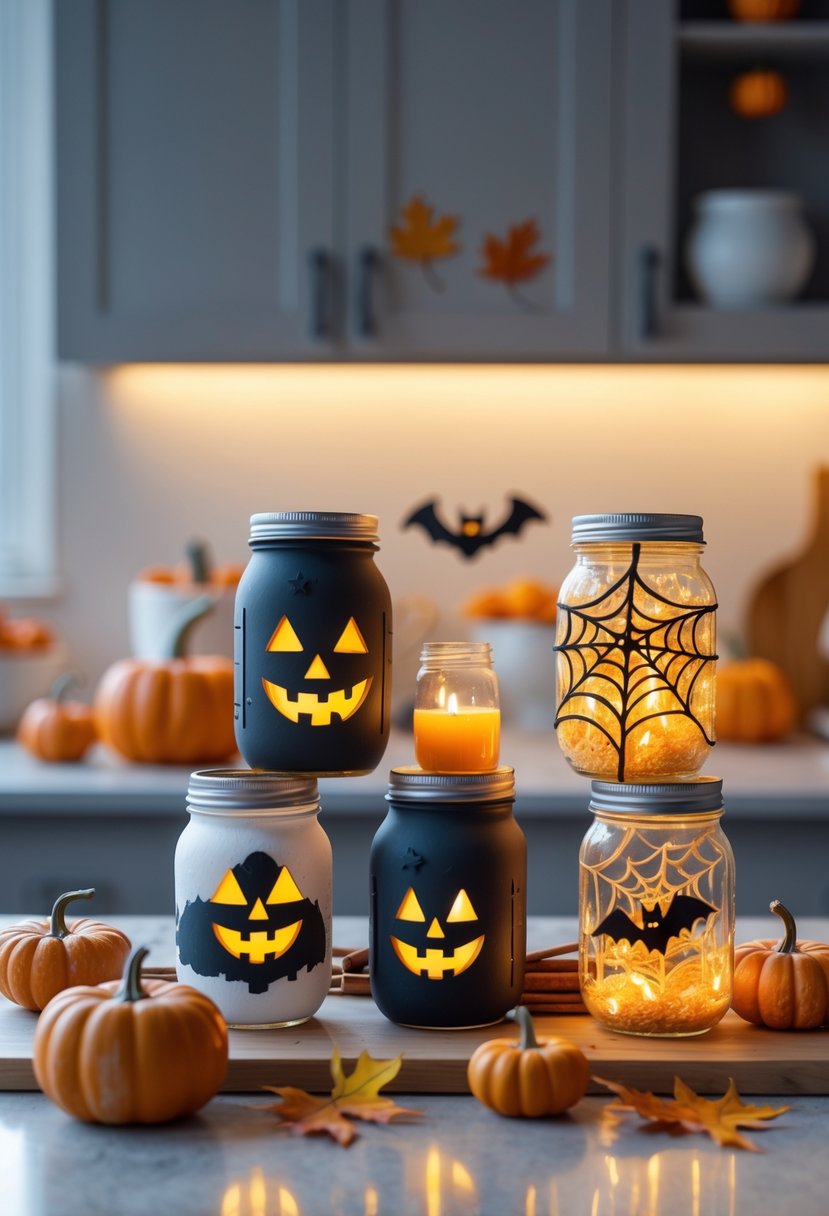
DIY Halloween Lanterns and Luminaries
You can make simple Halloween decorations using mason jars for your kitchen. These crafts bring light and a bit of spooky charm in just a few steps.
They look great on shelves or as table pieces, adding a warm glow to your kitchen.
Glowing Luminaries for Kitchen Shelves
For glowing luminaries, grab clean jars, tissue paper or paint, and LED tea lights. Decorate with Halloween shapes—bats, pumpkins, spooky faces—using tissue paper and glue or just paint.
Let everything dry, then drop in an LED tea light. These luminaries fit perfectly on shelves and add a soft, cozy light.
Mix up jar sizes for extra style. It’s a small touch that makes a big difference.
Mummy Mason Jars
Mummy mason jars are quick and fun. Wrap white gauze or cheesecloth around the jar, leaving space for “eyes.”
Stick on round stickers or googly eyes to finish the look. Pop in a little LED tealight or string lights, and your mummy glows.
Set them near candy bowls or recipe books for a playful Halloween vibe.
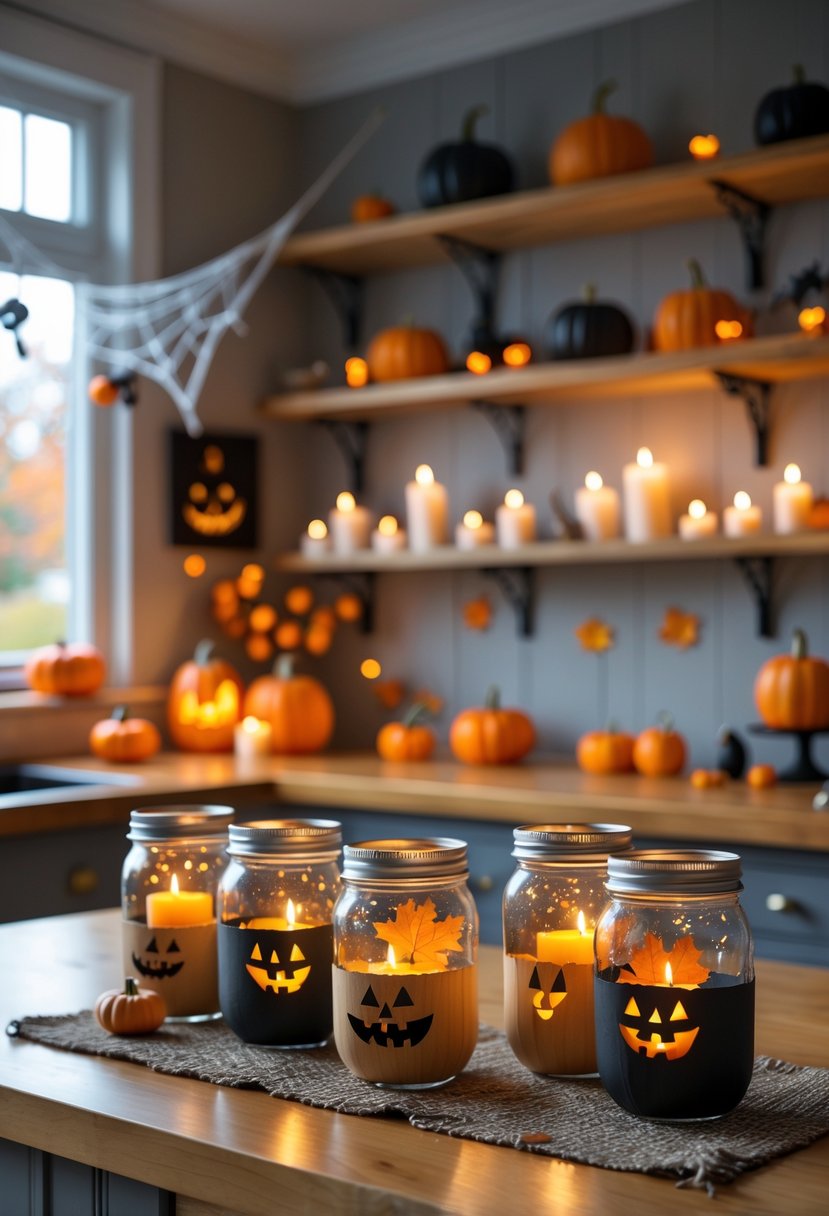
Halloween Mason Jar Luminarias
Halloween mason jar luminarias look great in kitchen windows or on countertops. Cut out ghosts, witches, or spiders from black paper or vinyl and glue them to the outside.
Fill the jar with a white or orange candle or LED light. When you turn them on, the shadows create a fun Halloween scene.
They look cool during the day and even better at night with their glowing designs.
Witch Jars, Ghosts, and Other Spooky Characters
You can make fun and creepy Halloween decorations by turning mason jars into witches, ghosts, spiders, or haunted houses. Just use simple materials like paint, fake cobwebs, and LED candles.
Add these jars to your kitchen for a spooky, festive feel. Sometimes, the little details are what really make the space come alive for Halloween.
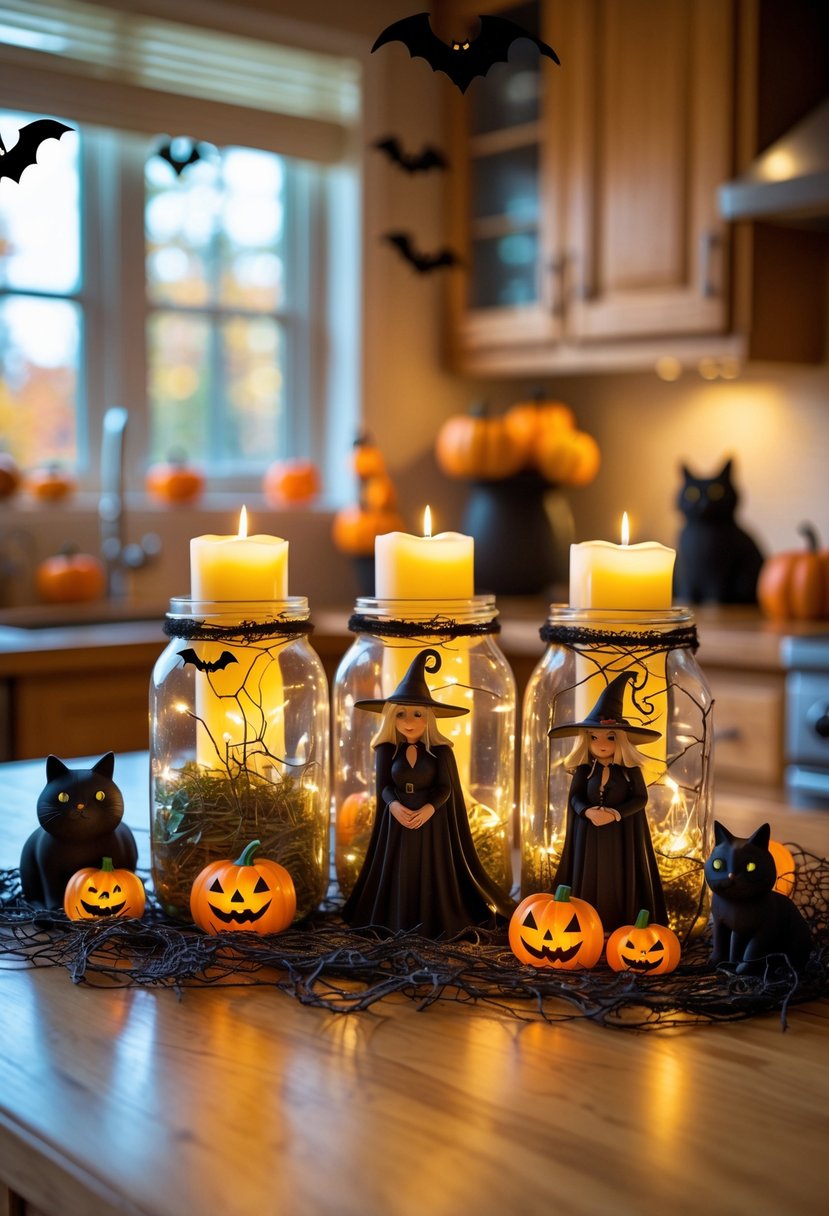
Witch Jars and Potion Bottles
Witch jars are a classic Halloween mason jar craft. Paint a jar dark green or purple for a magical vibe.
Add a tiny witch hat made from paper or fabric as a lid. Label the jar with names like “Potion of Flight” or “Witch’s Brew” using stickers or a marker—have some fun with it.
Drop in colored water, glitter, or fake spider webs for extra flair. These potion bottles look great on kitchen shelves or windowsills and instantly give your space a witchy feel.
Try glow-in-the-dark paint or pop a battery-powered candle inside to make your witch jars glow at night. It’s surprisingly effective.
Ghost Mason Jars
Ghost mason jars are easy and kid-friendly. Start by painting the jar white for the ghost’s body.
Use black paint or paper cutouts for the eyes and mouth. Place a small LED candle inside for a soft glow.
You can make the ghost look playful or spooky, depending on how you paint the face. This craft works well on your kitchen table or countertops.
Let your kids help—they’ll love making different expressions or adding hats and scarves to their ghost jars. It’s a little messy, but that’s half the fun, right?
Spider and Haunted House Jars
For spider jars, wrap fake spider webs around the outside. Attach plastic spiders or make your own with black pipe cleaners and glue.
Add creepy details with black paint or markers. It doesn’t have to be perfect—spooky is the goal.
Haunted house jars take a bit more effort. Paint the jar black or dark gray, then use white or yellow paint to add windows and doors.
Pop a small LED light inside to make the windows glow. Group a few together and you’ve got a tiny haunted village for your kitchen counter or shelf.
Decorating and Display Tips for Your Halloween Kitchen
Want your Halloween kitchen to feel festive? Try arranging your mason jar crafts with other decorations and use safe lighting.
The right placement makes your DIY decor pop and keeps things spooky but safe.
Arranging Mason Jar Crafts for Maximum Impact
Group decorated mason jars in odd numbers like three or five. This creates a natural balance that just looks good on countertops or shelves.
Use different heights by setting some jars on stands or books. It adds depth and keeps things interesting.
Mix up jar styles—maybe pumpkin jars next to ghost jars. If you group jars by color, like orange and black, it ties everything together.
Leave space in busy kitchen areas so things don’t get cluttered, but still show off your Halloween jars. You don’t want to knock one over while reaching for the coffee, right?
Incorporating Mason Jar Decorations with Other Halloween Decor
Pair your mason jars with themed items like fake spiders, mini pumpkins, or garlands. Try lining up jars with glow sticks and draping spider webs around them for extra effect.
Set jars on trays with other Halloween objects for a neat centerpiece on your table or island. Pick a main color scheme to keep things unified.
Mixing homemade decor with store-bought pieces gives you more flexibility. No need to go overboard—sometimes less is more.
Safe Lighting and Placement
Stick with battery-operated LED lights or flameless candles inside your mason jars. They’re safe for the kitchen and won’t overheat the glass.
Don’t put jars near the stove or sink—heat and water aren’t their friends. Choose flat, stable surfaces away from busy spots.
Always check that jar lids and decorations are secure to avoid spills. A little caution goes a long way when you’re decorating around food prep areas.
Gifting and Party Ideas with Halloween Mason Jars
Halloween mason jars make great treat gifts or party decorations. They’re perfect for sharing candy, making centerpieces, or handing out as party favors.
Easy Halloween Treat Jars for Gifting
Fill mason jars with Halloween candy or little goodies. Dress up the lids with painted pumpkin faces or spooky stickers.
Tie a ribbon or twine around the lid for extra flair. It’s simple but makes a big difference.
Try filling jars with:
- Candy corn or mini chocolates
- Small toys or Halloween trinkets
- Homemade treats like cookies or caramel popcorn
These jars are quick to put together and look great on doorsteps or at parties. They’re easy, thoughtful gifts—everyone loves them.
Mason Jar Centerpieces for Parties
Create centerpieces with mason jars for your Halloween party table. Paint them black, orange, or purple for instant Halloween vibes.
Add fake spiders, cobwebs, or LED tea lights inside to make them glow. You can also fill jars with:
- Mini pumpkins
- Candy or colored water
- Halloween-themed floral arrangements
Group a few jars together on a tray or wooden board for a fun display. It’s festive and creative without much effort—honestly, that’s the best kind of party decor.
Party Favor and Hostess Gift Ideas
Grab some small mason jars and fill them with candy or homemade bath salts scented like pumpkin spice. Top them off with Halloween labels or bits of fabric—honestly, it just looks adorable.
Hosts will love jars packed with:
- Fresh fudge or cookies you baked yourself
- Mini candle sets, especially if they smell like Halloween
- Craft kits or little surprise toys with a spooky twist
Stick on a personalized tag to make it feel extra thoughtful. You can prep these ahead of time, and they work perfectly as thank-you gifts for hosts or party guests.