How to Use a Bread Machine: Beginner’s Guide:
Bread machines are becoming increasingly popular among home bakers who want to enjoy freshly baked bread without the hassle of kneading and proofing. These machines are designed to take the guesswork out of bread making and produce consistent results every time.
However, for beginners, using a bread machine can be intimidating. This article will provide a step-by-step guide to help beginners use a bread machine with confidence.
Understanding Your Bread Machine Before using your bread machine, it’s important to understand its features and functions.
Bread machines come in different sizes, shapes, and types, and each model may have different settings and options. Familiarize yourself with the control panel, the bread pan, and the kneading blade.
Some models may have a viewing window or a delay timer, while others may have a gluten-free setting or a jam-making function. Refer to the user manual for specific instructions.
Getting Started Once you’ve familiarized yourself with your bread machine, it’s time to get started.
Begin by selecting a recipe that is suitable for your machine and your taste preferences. Measure the ingredients carefully and add them to the bread pan in the order specified by the recipe.
Insert the bread pan into the machine and select the appropriate setting. Press the start button and let the machine do the rest.
With a little practice, you’ll be able to bake a variety of breads, from basic white bread to artisanal loaves.
Key Takeaways
- Understanding your bread machine is essential for successful bread making.
- Getting started with a bread machine is easy and straightforward.
- With practice, you can bake a variety of breads with your machine.
Understanding Your Bread Machine
Components and Features
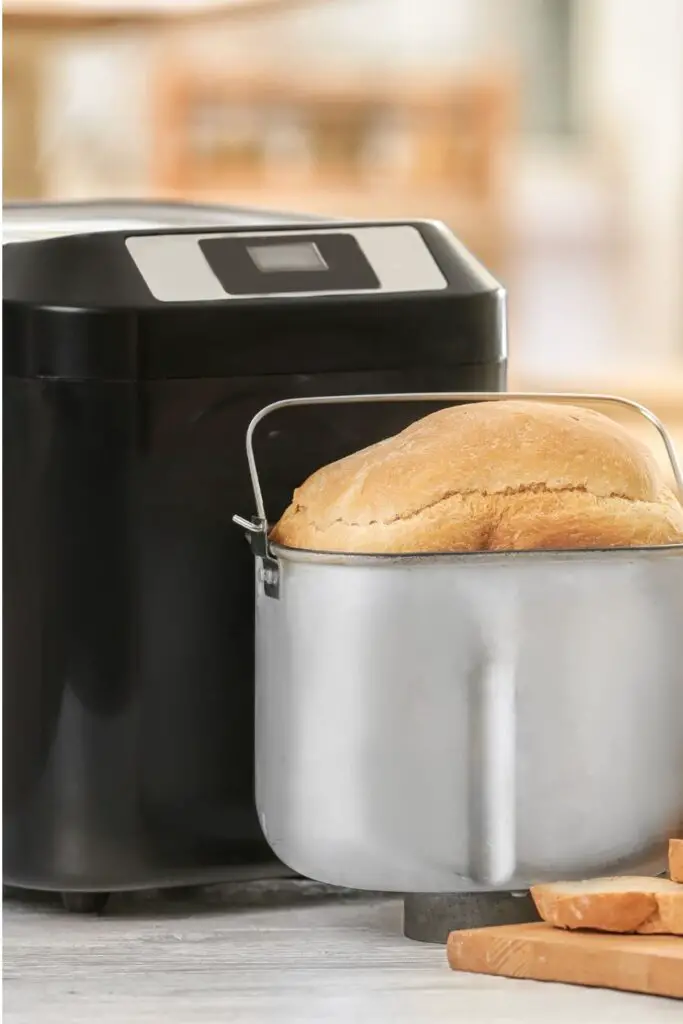
A bread machine consists of a few basic components: a bread pan, a kneading paddle, and a control panel.
The bread pan is where the dough is mixed and baked. The kneading paddle is used to knead the dough and is usually removable for easy cleaning.
The control panel is where you can select the settings for your bread machine. It typically includes buttons for selecting the type of bread you want to make, the size of the loaf, and the crust color.
Most bread machines also come with additional features such as a delay timer, a keep-warm function, and a viewing window.
The delay timer allows you to set the bread machine to start baking at a later time, so you can wake up to fresh bread in the morning or have it ready when you get home from work.
The keep-warm function keeps the bread warm for a certain period after it’s done baking. The viewing window allows you to check on the progress of your bread without having to open the lid.
Types of Bread Machines
There are two main types of bread machines: horizontal and vertical.
Horizontal bread machines have a rectangular bread pan and are better for making traditional sandwich loaves. Vertical bread machines have a tall, cylindrical bread pan and are better for making specialty breads like sourdough or gluten-free bread.
When choosing a bread machine, it’s important to consider the size of the loaf you want to make, the type of bread you want to make, and any additional features you may want.
Some bread machines can make up to a 2-pound loaf, while others are better suited for smaller loaves. Some machines have pre-programmed settings for different types of bread, while others allow you to customize your own settings.
Getting Started
Using a bread machine is a great way to make delicious homemade bread without the hassle of kneading and proofing. Here are some steps to help beginners get started:
Initial Setup
Before using the bread machine for the first time, it is important to give it a thorough cleaning.
Wipe down the inside and outside of the machine with a damp cloth and let it dry completely.
Next, plug in the machine and familiarize yourself with the control panel.
Most bread machines have a few basic settings, such as “basic,” “dough,” and “rapid,” as well as options for crust color and loaf size. Refer to the instruction manual for specific instructions on how to use your particular machine.
Selecting Your Ingredients
When making bread in a machine, it is important to use the right ingredients in the right amounts.
Follow the recipe carefully and measure out your ingredients precisely. It is also important to use fresh ingredients, especially yeast, which can lose its potency over time.
Here are some common ingredients you will need when making bread in a machine:
- Flour: Use bread flour for best results. All-purpose flour can also be used, but the bread may not rise as well.
- Yeast: Use active dry yeast or instant yeast. Make sure it is fresh and not expired.
- Sugar: Helps the yeast to activate and gives the bread a slightly sweet flavor.
- Salt: Adds flavor and helps to control the fermentation process.
- Liquid: Most recipes call for water, but milk or other liquids can also be used. Make sure the liquid is at room temperature.
- Fat: Adds flavor and helps to keep the bread moist. Butter, oil, or margarine can be used.
The Baking Process
Adding Ingredients
Before adding the ingredients, it is important to ensure that the bread machine is clean and dry.
Once the machine is ready, add the ingredients in the order specified in the recipe. Typically, the recipe will call for adding the liquids first, followed by the dry ingredients, and then the yeast.
It is important to measure the ingredients accurately to ensure the best possible results.
Setting the Program
Once the ingredients are added, it is time to set the program.
The program will vary depending on the type of bread being made. Most bread machines will have a selection of programs to choose from, including basic, whole wheat, gluten-free, and more.
It is important to select the correct program to ensure that the bread is baked to perfection.
During the Bake
During the bake, it is important not to open the bread machine as this can cause the bread to collapse.
The machine will typically have a viewing window so that the progress of the bake can be monitored.
It is also important to ensure that the machine is not moved or bumped during the bake as this can also cause the bread to collapse.
Once the bake is complete, it is important to remove the bread from the machine immediately.
Some machines may have a keep warm function, but it is best to remove the bread to prevent it from becoming soggy.
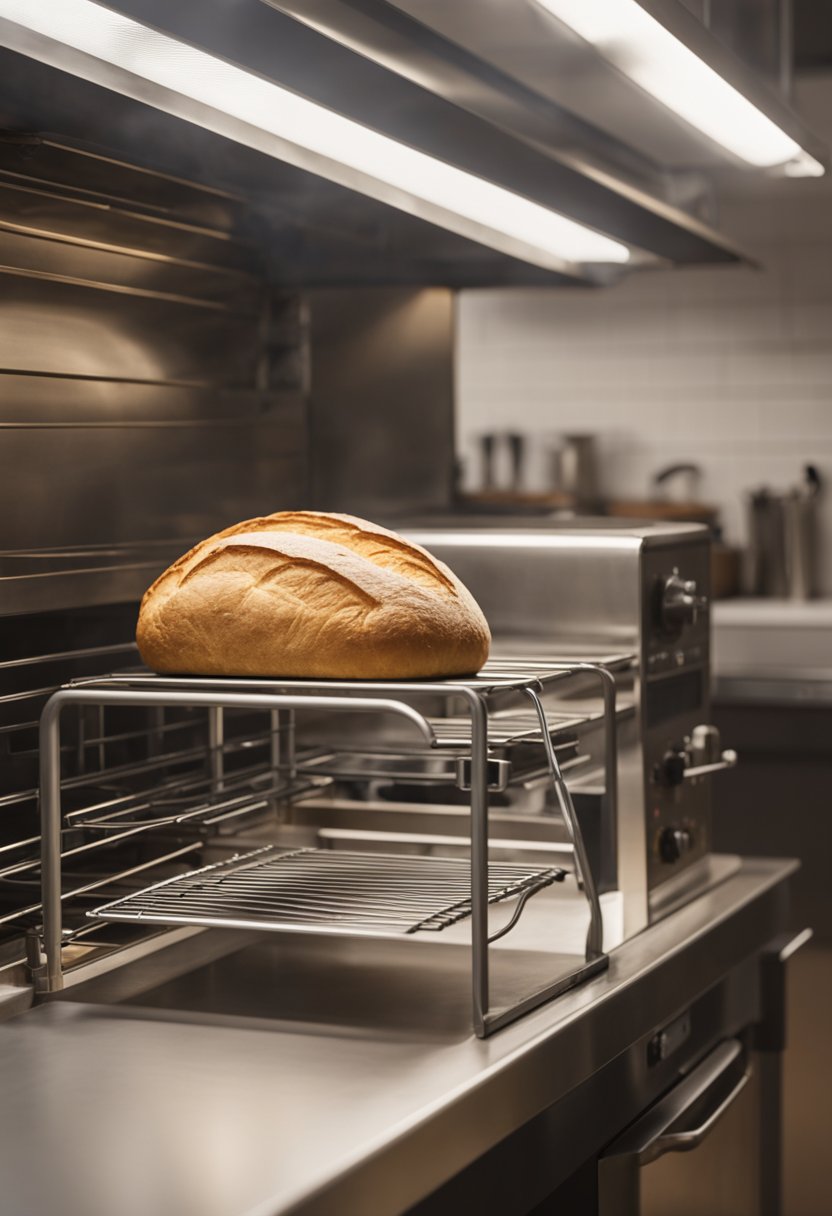
Allow the bread to cool on a wire rack before slicing and serving.
After Baking
Removing the Bread
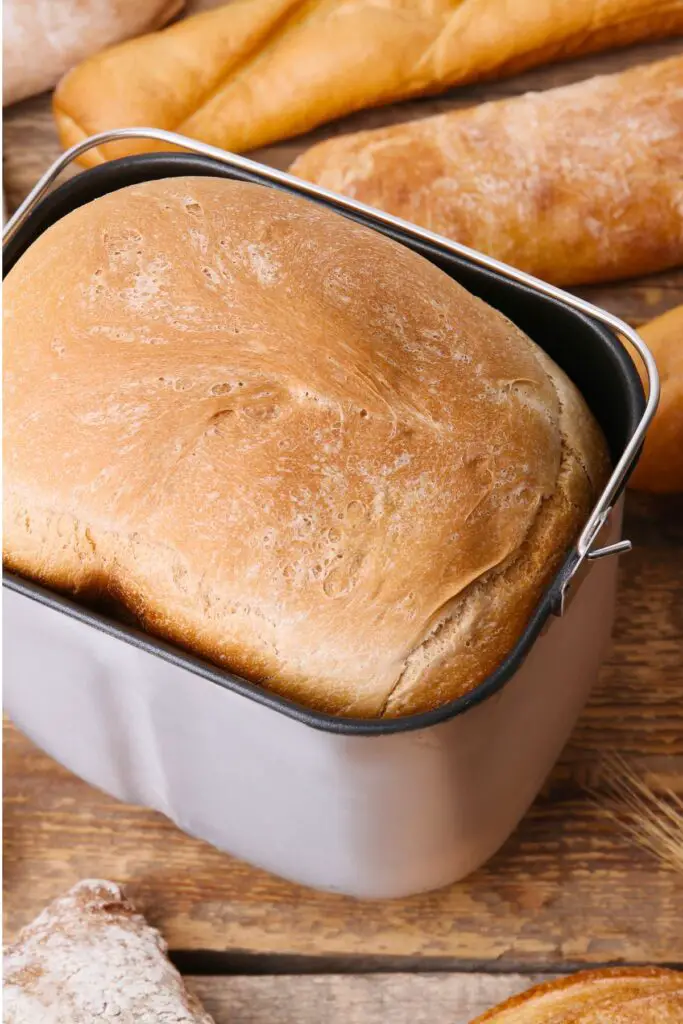
Once the bread machine has finished baking the bread, it is important to remove the bread from the machine.
First, unplug the machine and carefully open the lid. Use oven mitts or a towel to remove the bread pan from the machine.
Then, gently shake the bread pan to loosen the bread from the pan.
Next, remove the kneading blade from the bottom of the bread. This can be done by using a spatula or a pair of tongs to gently pull the blade from the bread. Be careful not to damage the bread or the pan in the process.
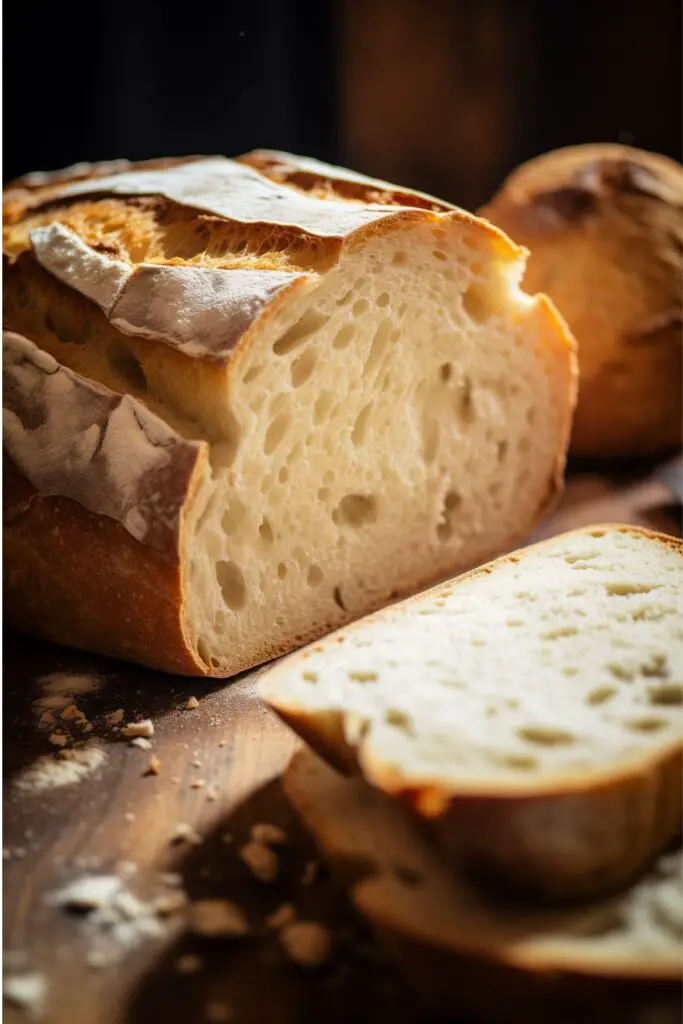
Cooling and Storage
After removing the bread from the pan, it is important to let the bread cool completely before slicing or storing. This will help the bread retain its shape and texture.
To cool the bread, place it on a wire rack and let it sit for at least 30 minutes.
Do not place the bread in a plastic bag or container until it has cooled completely, as this can cause the bread to become soggy.
Once the bread has cooled, it can be stored in an airtight container or plastic bag.
Bread made in a bread machine typically stays fresh for 2-3 days, but can be frozen for longer storage.
To freeze the bread, wrap it tightly in plastic wrap and then in aluminum foil. Label the package with the date and type of bread, and store it in the freezer for up to 3 months.
Maintenance and Cleaning
Using a bread machine is a convenient way to make fresh bread at home, but it’s important to keep the machine clean and well-maintained to ensure it works properly and lasts for a long time. Here are some tips for maintaining and cleaning your bread machine.
Regular Cleaning
To keep your bread machine in good working order, it’s important to clean it regularly.
After each use, remove the bread pan and kneading paddle and wash them in warm, soapy water. Use a soft brush or sponge to remove any stubborn residue.
Be sure to dry the parts thoroughly before putting them back in the machine.
It’s also a good idea to wipe down the inside of the machine with a damp cloth after each use to remove any crumbs or debris.
Never immerse the entire machine in water or put it in the dishwasher, as this can damage the electrical components.
Troubleshooting Common Issues
If you’re having trouble with your bread machine, there are a few common issues that you can troubleshoot on your own. Here are some tips:
- If your bread is coming out too dense or not rising properly, make sure you’re using fresh yeast and that the water temperature is correct. You can also try using bread flour instead of all-purpose flour, as it has a higher protein content that can help with gluten development.
- If your bread is burning on the top, try lowering the baking time or temperature. You can also cover the bread with foil halfway through the baking process to prevent it from over-browning.
- If your bread machine is making strange noises or not working properly, check the manual for troubleshooting tips. It’s also a good idea to unplug the machine and let it cool down before attempting any repairs.
Exploring Recipes
Once you have become familiar with your bread machine, it’s time to start exploring recipes. Here are some basic recipes to try out:
Basic Recipes
- White Bread: This is a simple recipe that is perfect for beginners. All you need is flour, water, yeast, sugar, salt, and butter. The bread machine will take care of the rest.
- Whole Wheat Bread: For a healthier option, try making whole wheat bread. This recipe calls for whole wheat flour, water, honey, salt, and yeast.
- French Bread: Impress your dinner guests with homemade French bread. This recipe requires flour, water, yeast, salt, and sugar.
Gluten-Free and Other Special Diets
If you have a special diet, don’t worry, there are plenty of bread machine recipes for you too. Here are some ideas:
- Gluten-Free Bread: This recipe is perfect for those who are gluten intolerant. It calls for gluten-free flour, water, yeast, sugar, salt, and xanthan gum.
- Dairy-Free Bread: If you are lactose intolerant, try making dairy-free bread. This recipe uses almond milk instead of regular milk.
- Vegan Bread: For those who follow a vegan diet, there are plenty of bread machine recipes available. This recipe calls for flour, water, yeast, sugar, salt, and vegetable oil instead of butter.
Customizing Your Baking Experience
One of the great things about using a bread machine is the ability to customize your baking experience. Here are some tips to help you get started.
Adjusting Recipes
When using a bread machine, it’s important to follow the recipe closely. However, you can make some adjustments to suit your taste preferences.
For example, if you prefer a sweeter bread, you can increase the amount of sugar in the recipe. If you prefer a denser bread, you can decrease the amount of yeast.
You can also adjust the amount of salt, flour, and liquid in the recipe to achieve the desired texture and flavor.
Keep in mind that making too many adjustments can affect the quality of the bread. It’s best to start with small adjustments and gradually increase or decrease the ingredients as needed.
Experimenting with Flavors
Another way to customize your bread machine experience is by experimenting with different flavors.
You can add herbs, spices, cheese, nuts, or dried fruits to your bread dough to create unique flavors.
When adding ingredients, it’s important to consider their moisture content and adjust the recipe accordingly.
For example, if you’re adding dried fruits, you may need to add more liquid to the recipe to prevent the bread from becoming too dry.
Keep in mind that some ingredients may affect the rising and baking process.
For example, adding too much sugar or fat can inhibit yeast growth and affect the texture of the bread. It’s best to experiment with small amounts of ingredients and gradually increase or decrease as needed.
Frequently Asked Questions
What is the correct order of ingredients when using a bread machine?
The correct order of ingredients when using a bread machine is essential to the success of your bread. According to wikiHow, the general rule is to add your liquid ingredients first, then your dry ingredients, and finally your yeast, if you’re using it.
However, it’s important to follow the instructions in your bread machine’s manual, as some models may have different requirements.
Can I use my bread machine to knead dough without baking it?
Yes, you can use your bread machine to knead dough without baking it. According to BreadNewbie, some bread machines have a “dough” cycle that allows you to knead the dough without baking it.
After the dough cycle is complete, you can remove the dough from the bread machine and shape it as desired. Then, you can let it rise and bake it in the oven.
How do I troubleshoot dense bread results from my bread machine?
If your bread machine produces dense bread, there may be several reasons why. According to Country Living, some possible causes include using too much flour, using old yeast, not adding enough liquid, or using water that is too hot or too cold.
To troubleshoot, try adjusting the amount of flour, yeast, or liquid, or check the temperature of the water you’re using.
Which setting should I choose for different types of bread in my bread machine?
The setting you choose for different types of bread in your bread machine will depend on the recipe you’re using.
According to Gastrocoach, most bread machines have several settings for different types of bread, such as white bread, whole wheat bread, and sweet bread.
It’s important to choose the correct setting for your recipe to ensure the best results.
Check your bread machine’s manual for guidance on which setting to use for different types of bread.